
Commerce
Your Store is where organizations buy your products: device licenses, platform licenses, warranties and physical products. This page covers what you set up in the partner portal so the right customers see your store and can buy from it. For the settings themselves (payment methods, currencies, tax, policies), see Store.
You manage everything under Commerce Hub: Product Catalog, Product Listings, Coupons, Store Management (Orders, Subscriptions, Sold Products) and Reports.

An organization sees your store when you have at least one published listing and one of these is true:
| How the organization reaches you | What creates it |
|---|---|
| Your store is open to every organization on your Connect+ platform | A store-wide setting on your partner account. Xyte turns it on for you. |
| The organization has your devices (Connect+ only) | It's added automatically the first time the organization claims a device of one of your models. |
| The organization connected with your vendor code | The customer enters your code under Connect a vendor in their portal. See Vendor codes and referral links. |
| The organization redeemed one of your coupon codes | Redeeming a code from a vendor it isn't connected to also connects the organization to you. |
When an organization connects to you with a vendor code or coupon code, your admin contact gets an email. Connected organizations appear in your Customers list. Only the organization can disconnect.
Customers see only published listings. Drafts and archived listings are never shown. On the customer's Store page, the labels on your vendor card are your listings' categories, so give every listing a category.
Connecting with a vendor code or coupon code works only when Organization connections is enabled for your account. If customers get "Vendor code not found" or "Coupon code is not valid", contact Xyte to enable it.
A product (in Product Catalog) defines what you sell. A listing (in Product Listings) is how it appears in the store, with its name, category, image and prices.
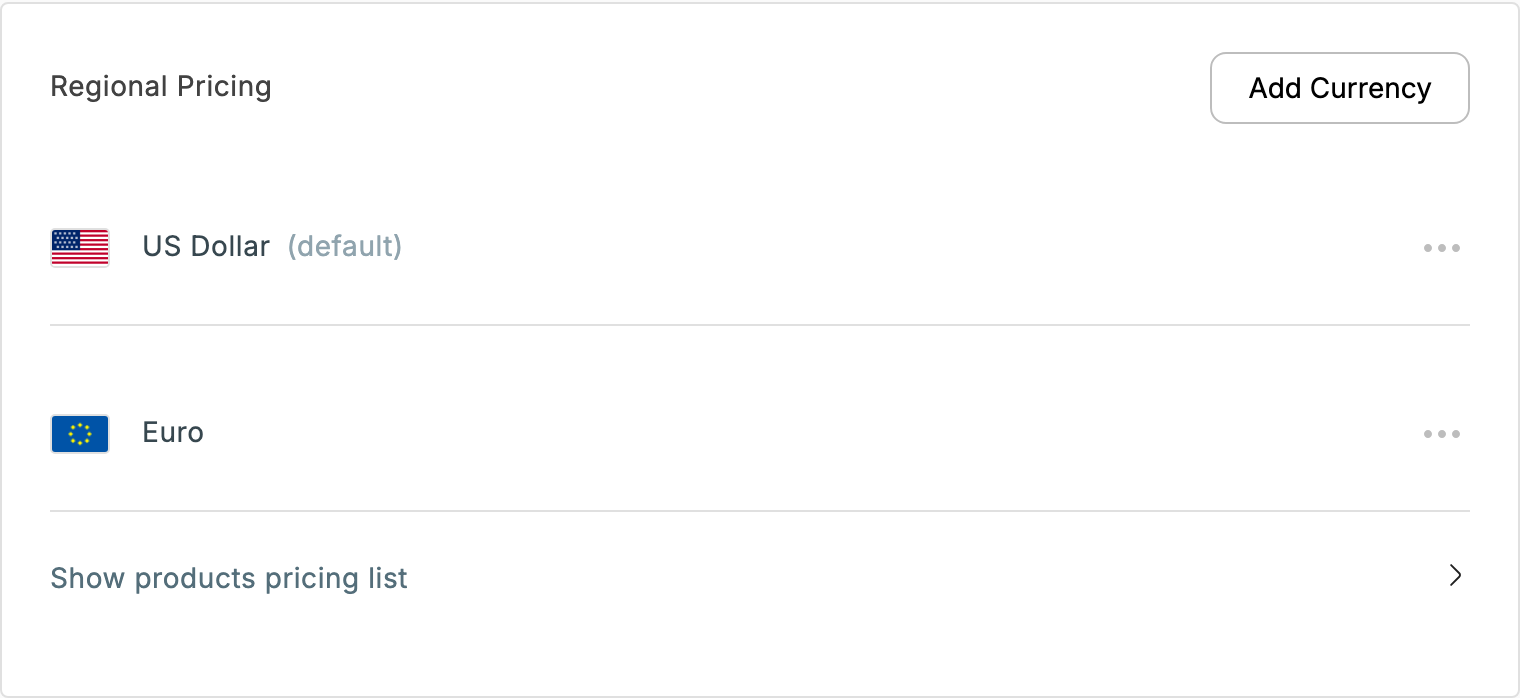
Before you add prices, add each currency you sell in under Settings → Store → Regional Pricing and choose the default currency.
1. Create the product
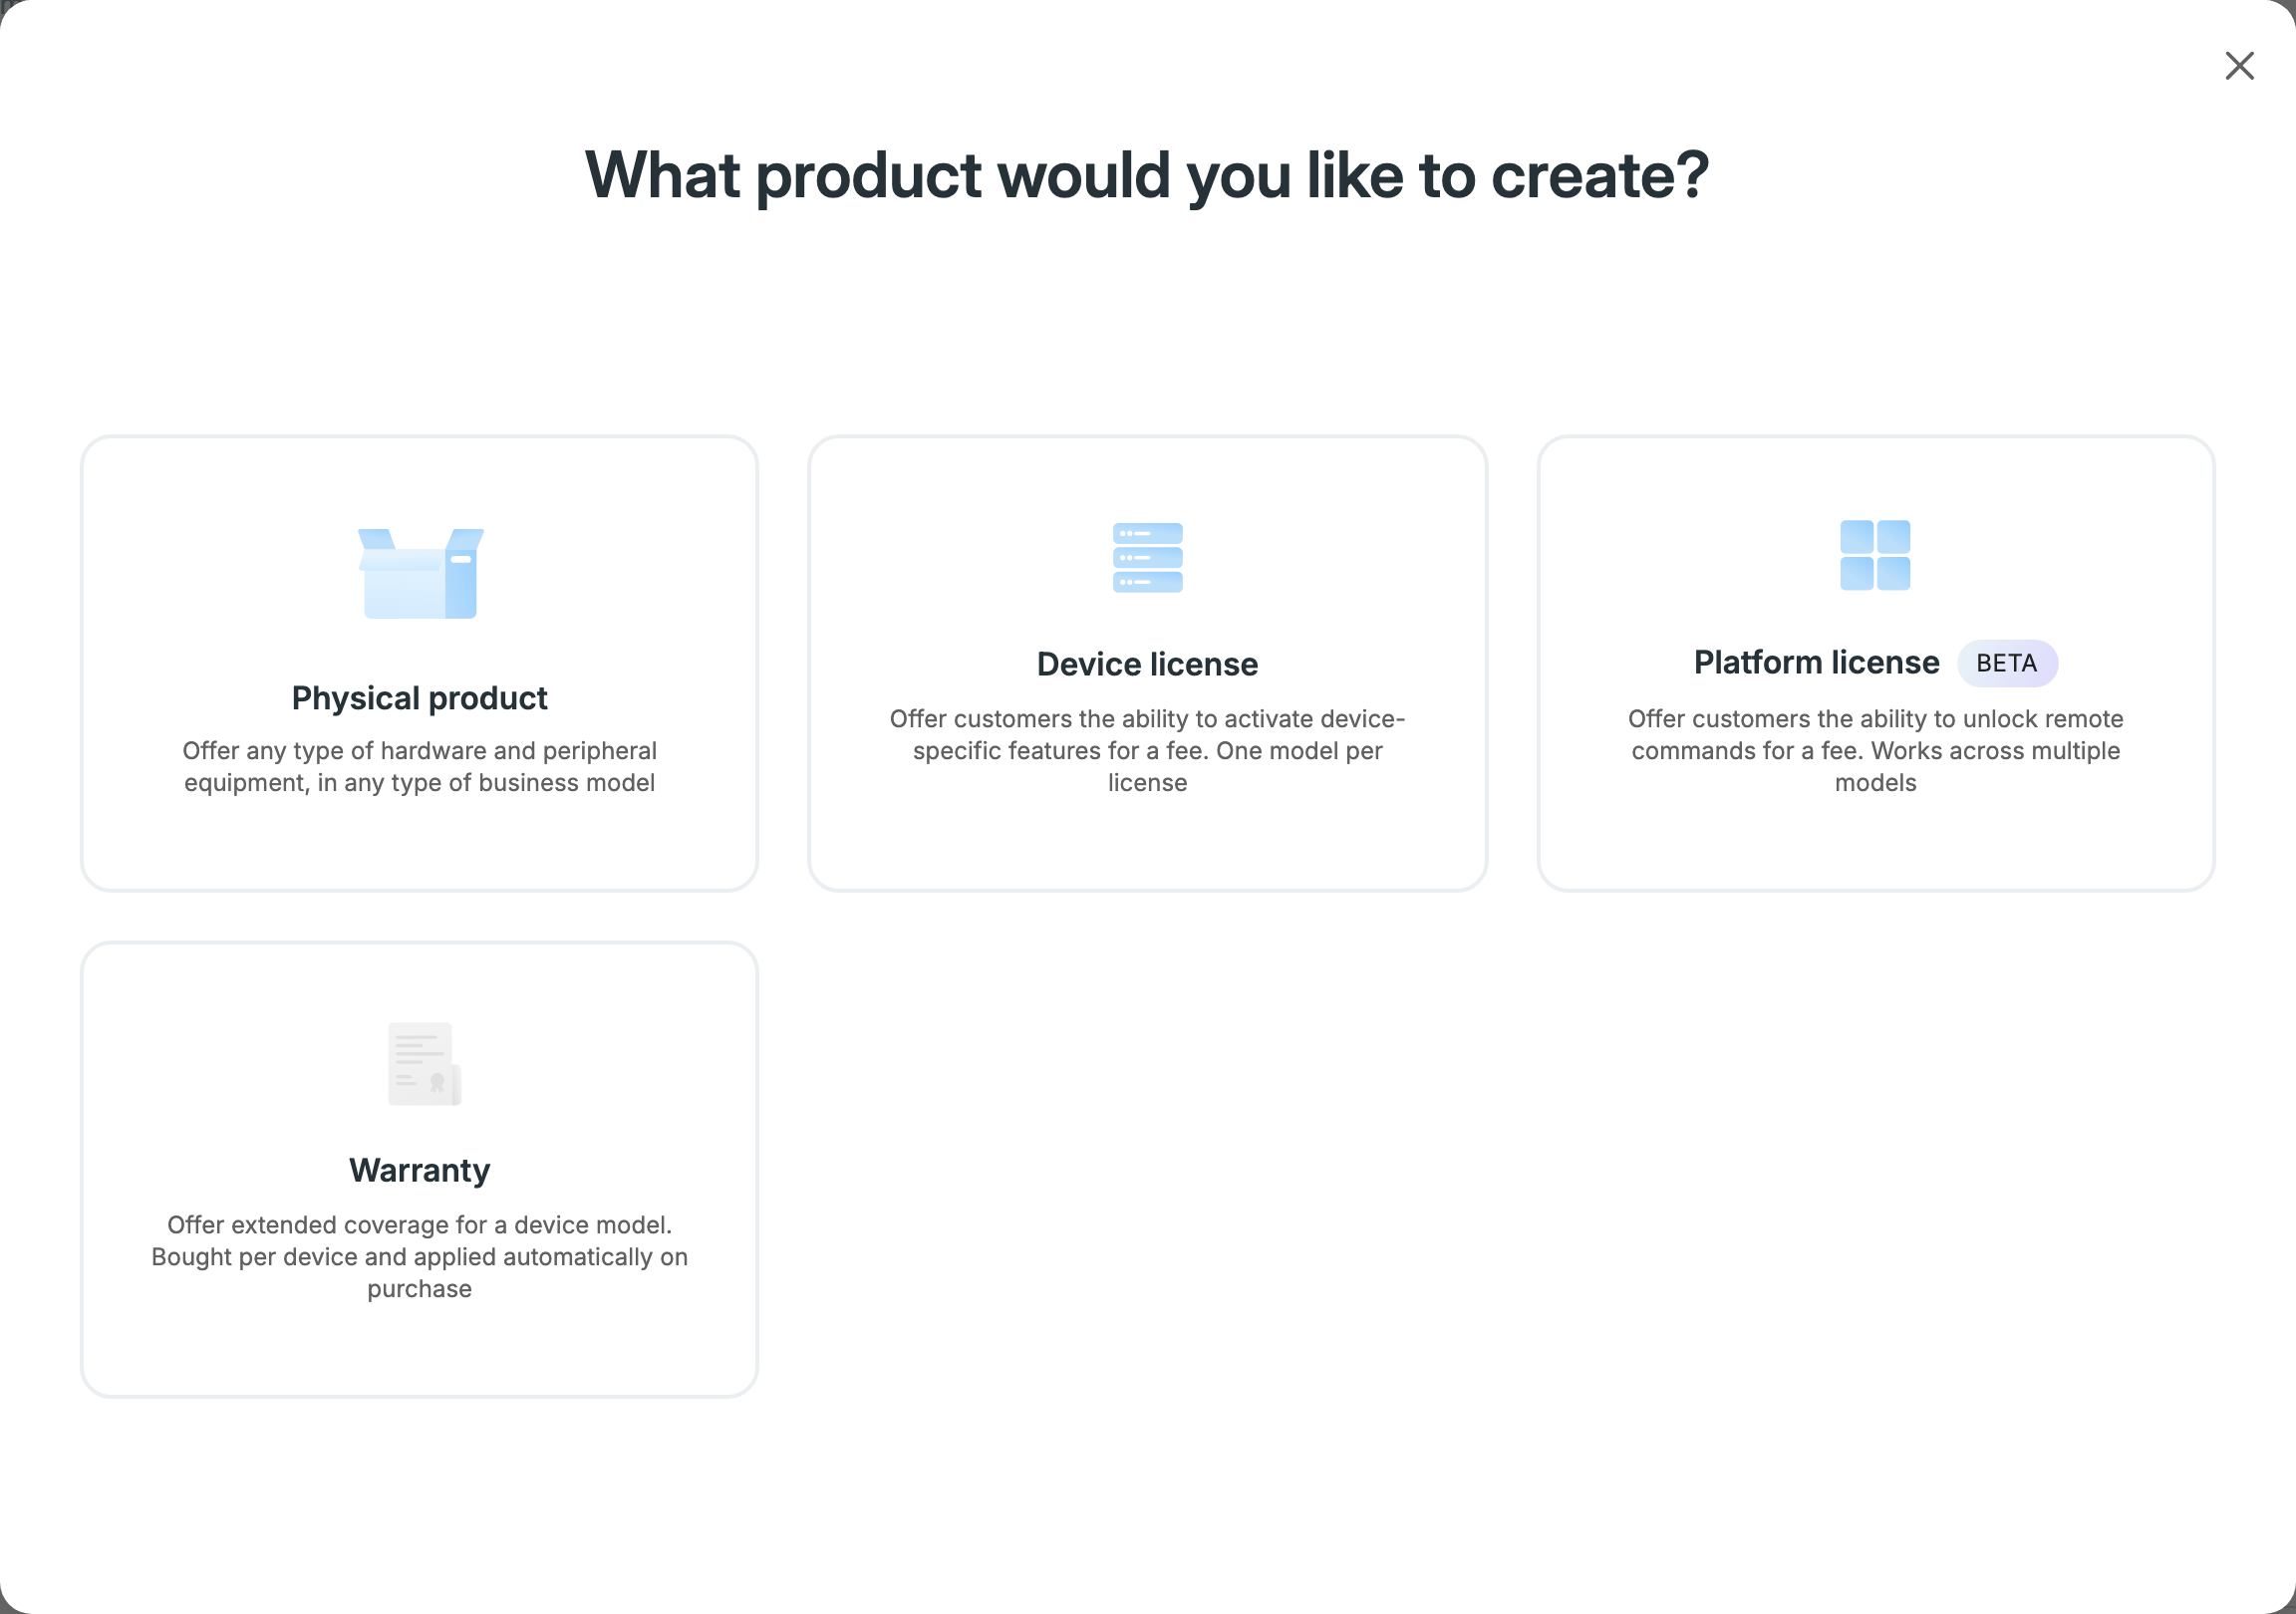
In Product Catalog, create a product and choose its type: Physical product, Device license, Platform license or Warranty. Then go through the steps: Device Model (not for platform licenses), General Information, Product Details, Pricing Model and Tax Details. Physical products can also have a Post Purchase Data step, when it is enabled for your account.
Pricing models:
- Standard pricing: one-time, monthly or yearly prices.
- Usage Based pricing: a price per unit, billed monthly.
- Personalized pricing: the customer enters the price. To set it for them, add
?price=<amount>to the product link you send. These listings don't appear in the store grid, only through a direct link.
Usage-based and personalized pricing aren't available for platform licenses, and they may need to be enabled for your account. Once a product has a listing, its pricing model can't be changed.
2. Create the listing
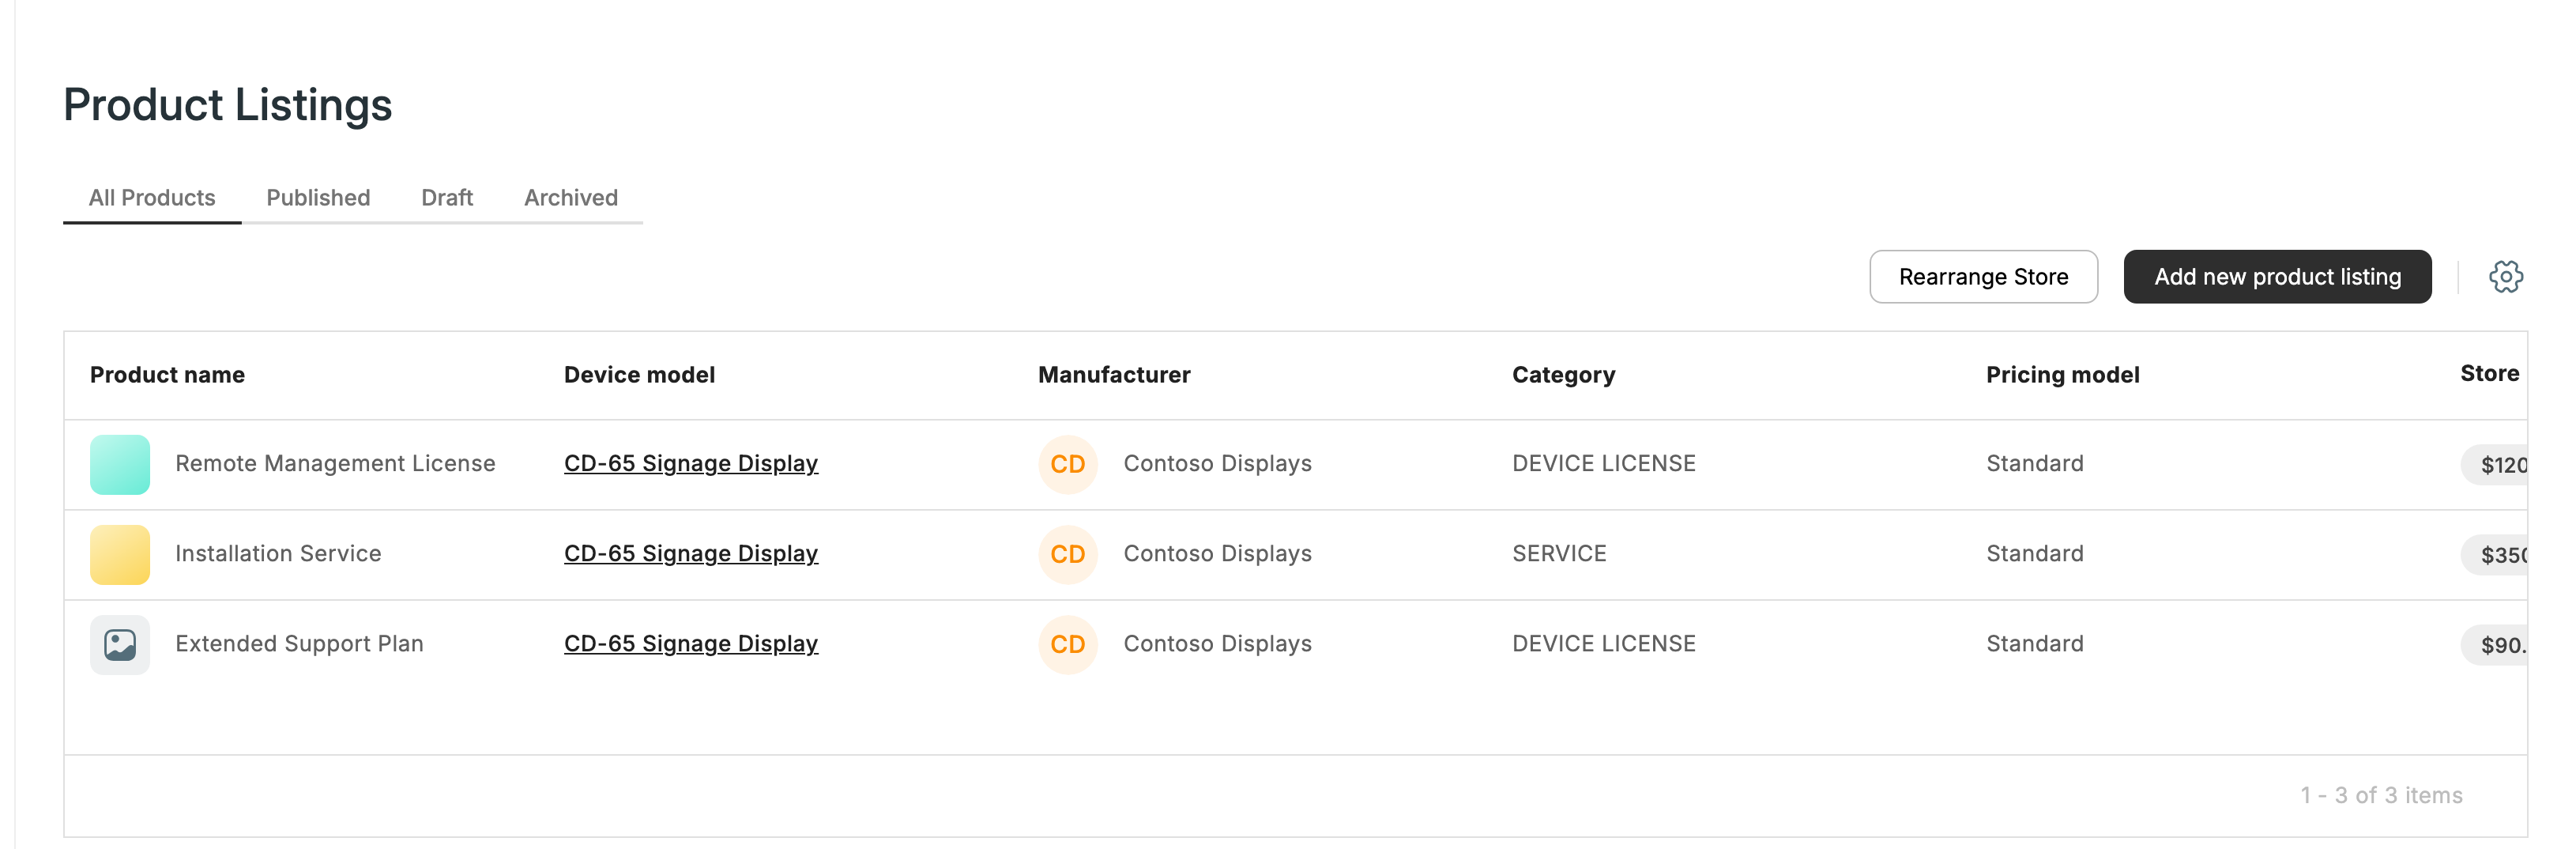
In Product Listings, click Add new product listing:
- Choose Product.
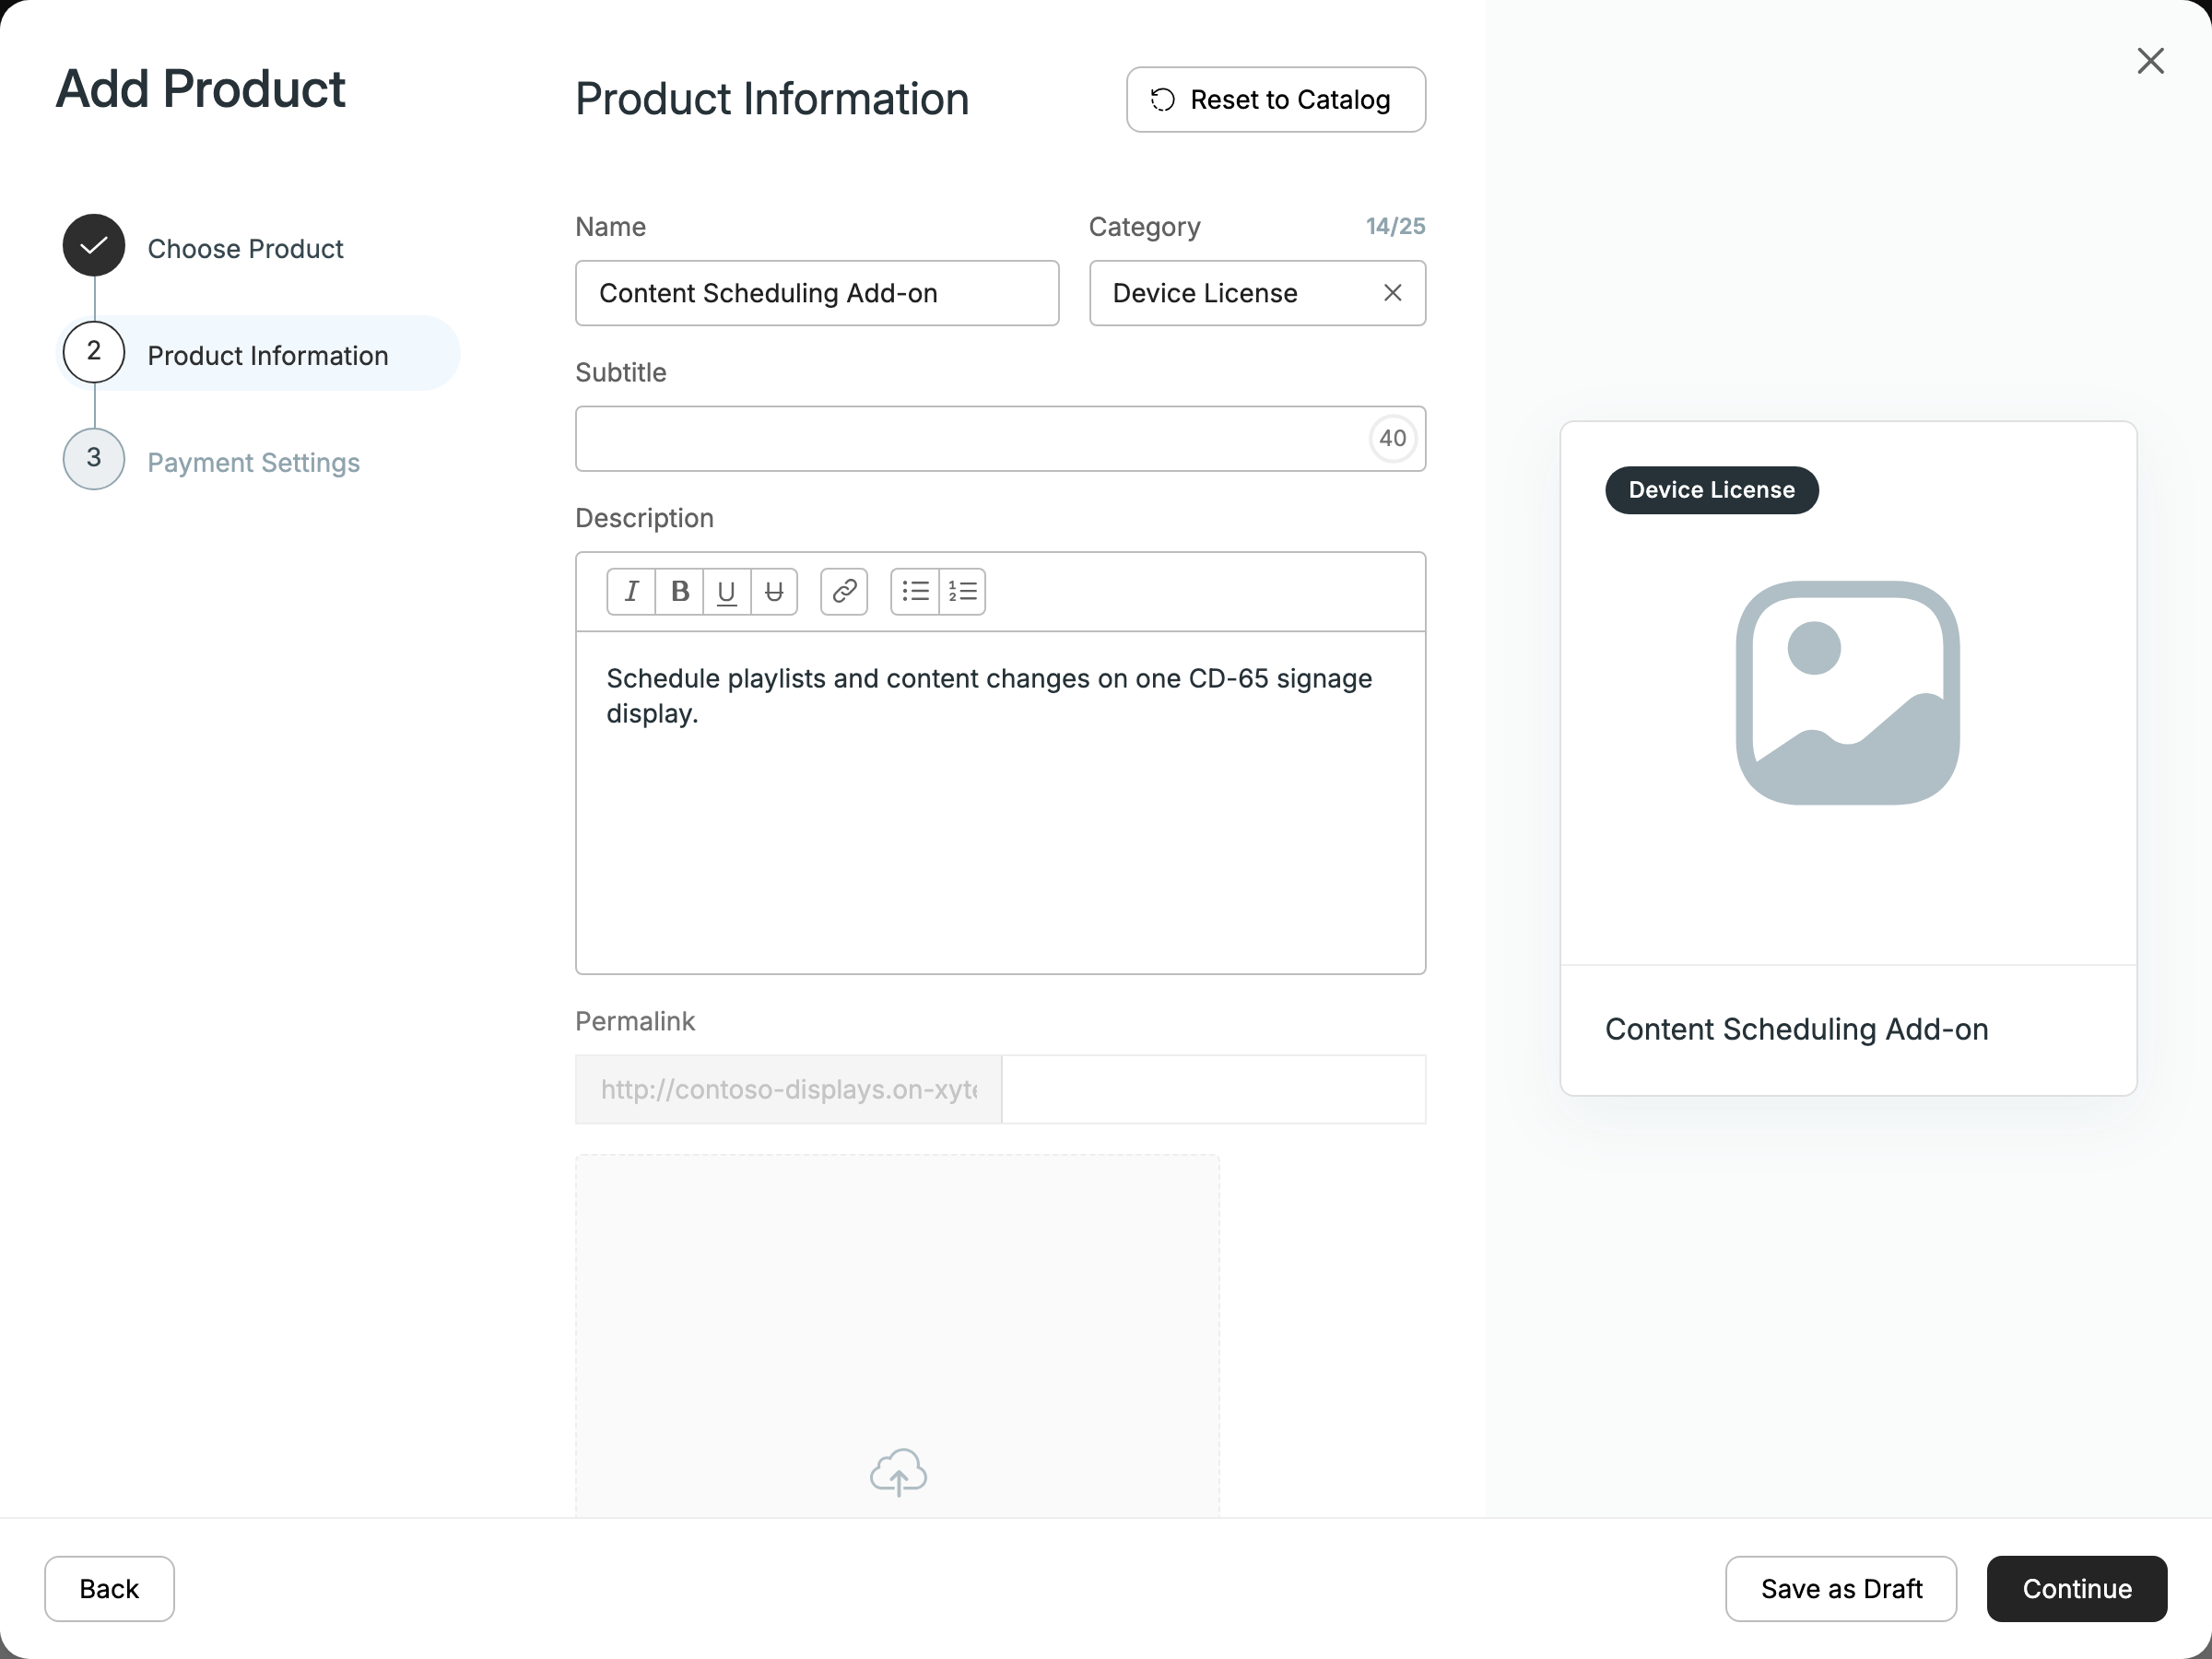
- Product Information: Name, Category, Subtitle, Description, Permalink and an image.
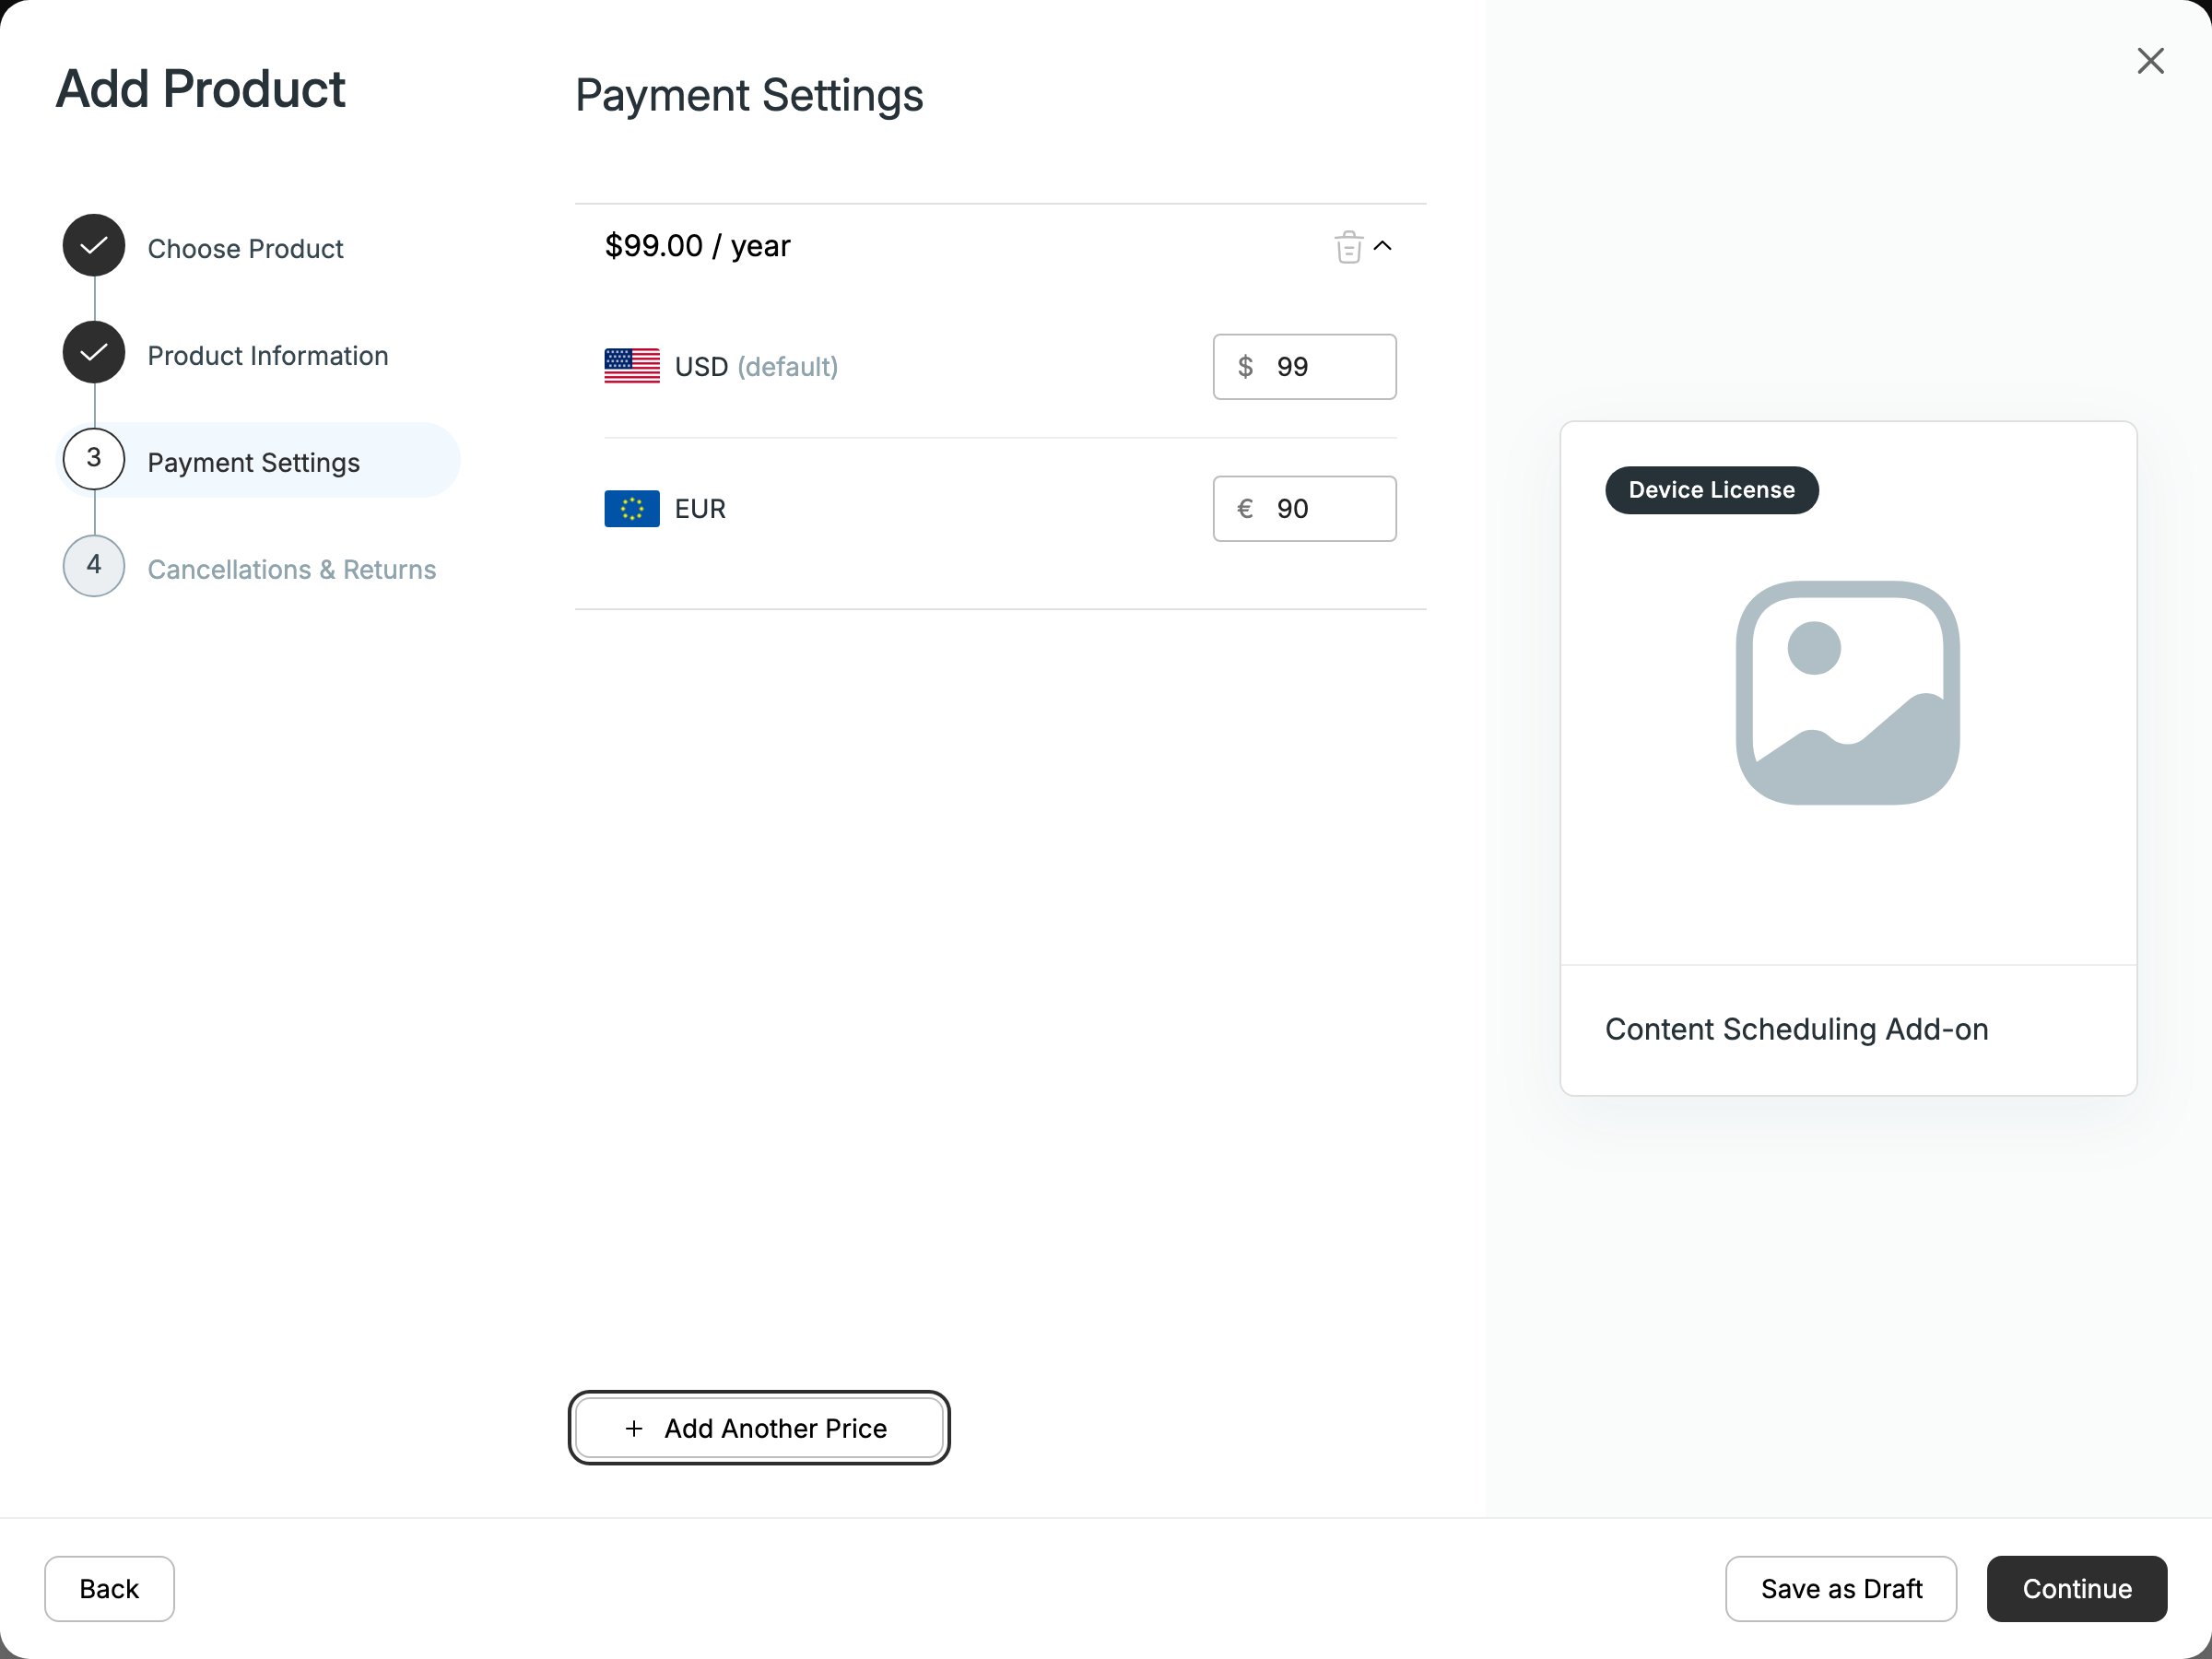
- Payment Settings: add prices (One Time, Monthly, Yearly). You need a price in every currency your store sells in.
- Cancellations & Returns: for subscriptions, you can turn on Ask customers for cancellation reason.
Click Publish to Store.
Before you can publish
Publishing fails until:
- Your store has a Terms of Service and a Privacy Policy (Settings → Store → Policies).
- The product's device model is published.
- The listing has a valid price in every store currency (not needed for personalized pricing).
- The product isn't archived.
If a listing is missing a price in one of your currencies, publishing stops with Missing prices in currencies: ….
Manage listings
The Product Listings table has All Products, Published, Draft and Archived tabs. From a row you can Edit, Publish, Archive or Delete a listing. A listing that has been sold can't be deleted, so archive it instead. A listing with coupons can be deleted only after you delete or reassign its coupons. To set the order customers see, use Rearrange Store.
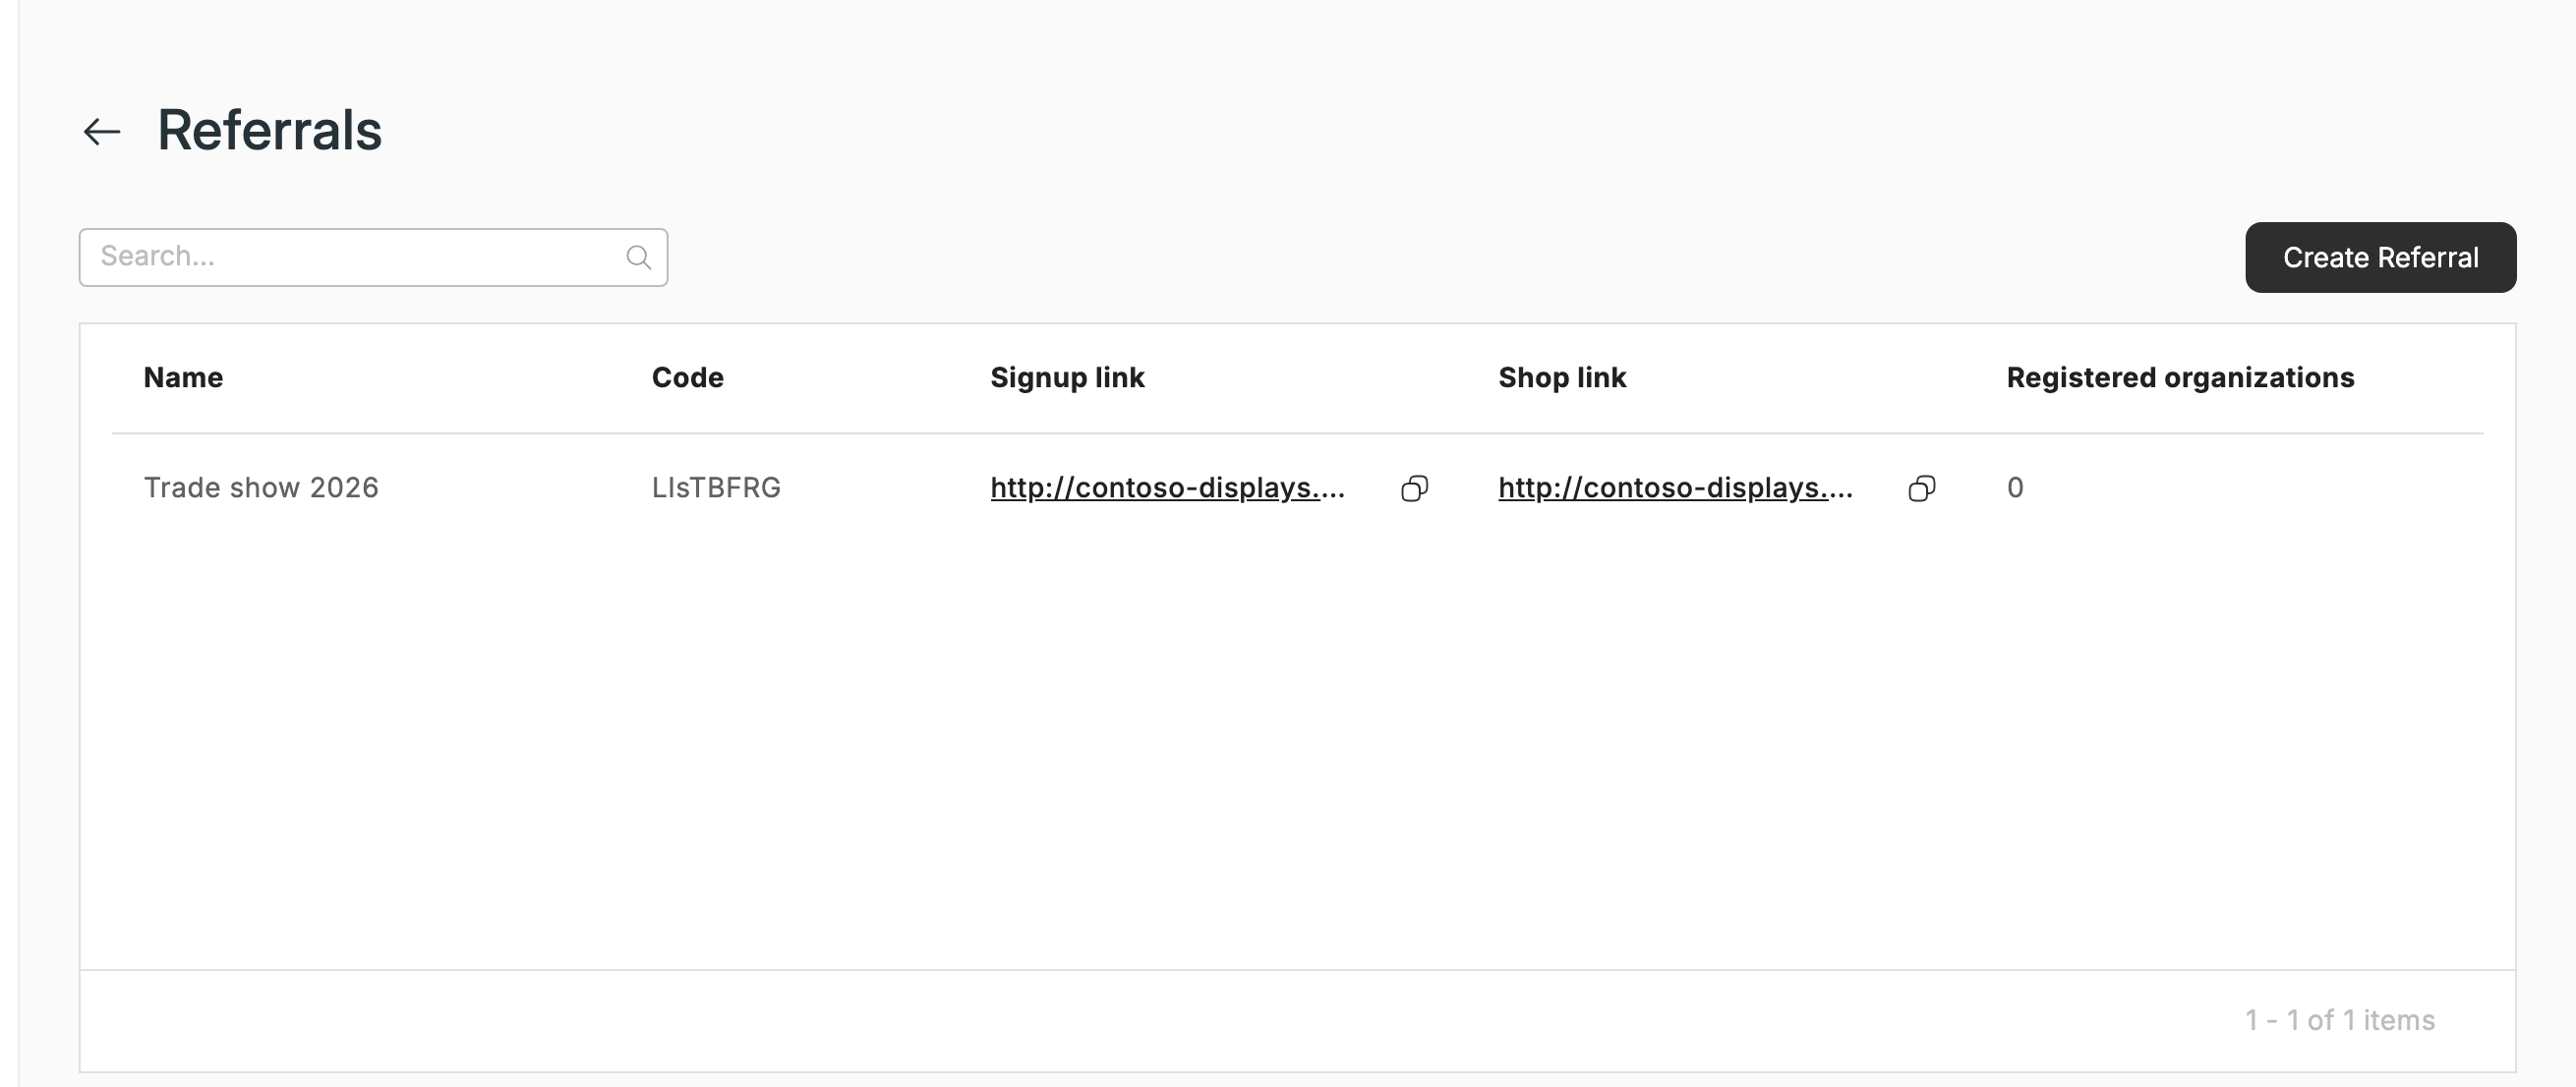
Go to Settings → Referrals and click Create Referral. Give it a Name (for example, the event or campaign). Each referral gets an 8-character Code and two links:
- Signup link: invites a new organization to sign up. Registered organizations shows how many signed up through it.
- Shop link: opens your store.
The same Code is your vendor code. An existing organization can enter it under Connect a vendor, and your store then appears in its Store.
Use separate referrals for each campaign or partner channel, so you can see where sign-ups come from.
Coupons aren't turned on for every account. When they're off, you don't see Coupons in Commerce Hub, the coupons on a listing's details panel, or the coupons section on a customer's details panel. If you don't see Coupons, contact [email protected].
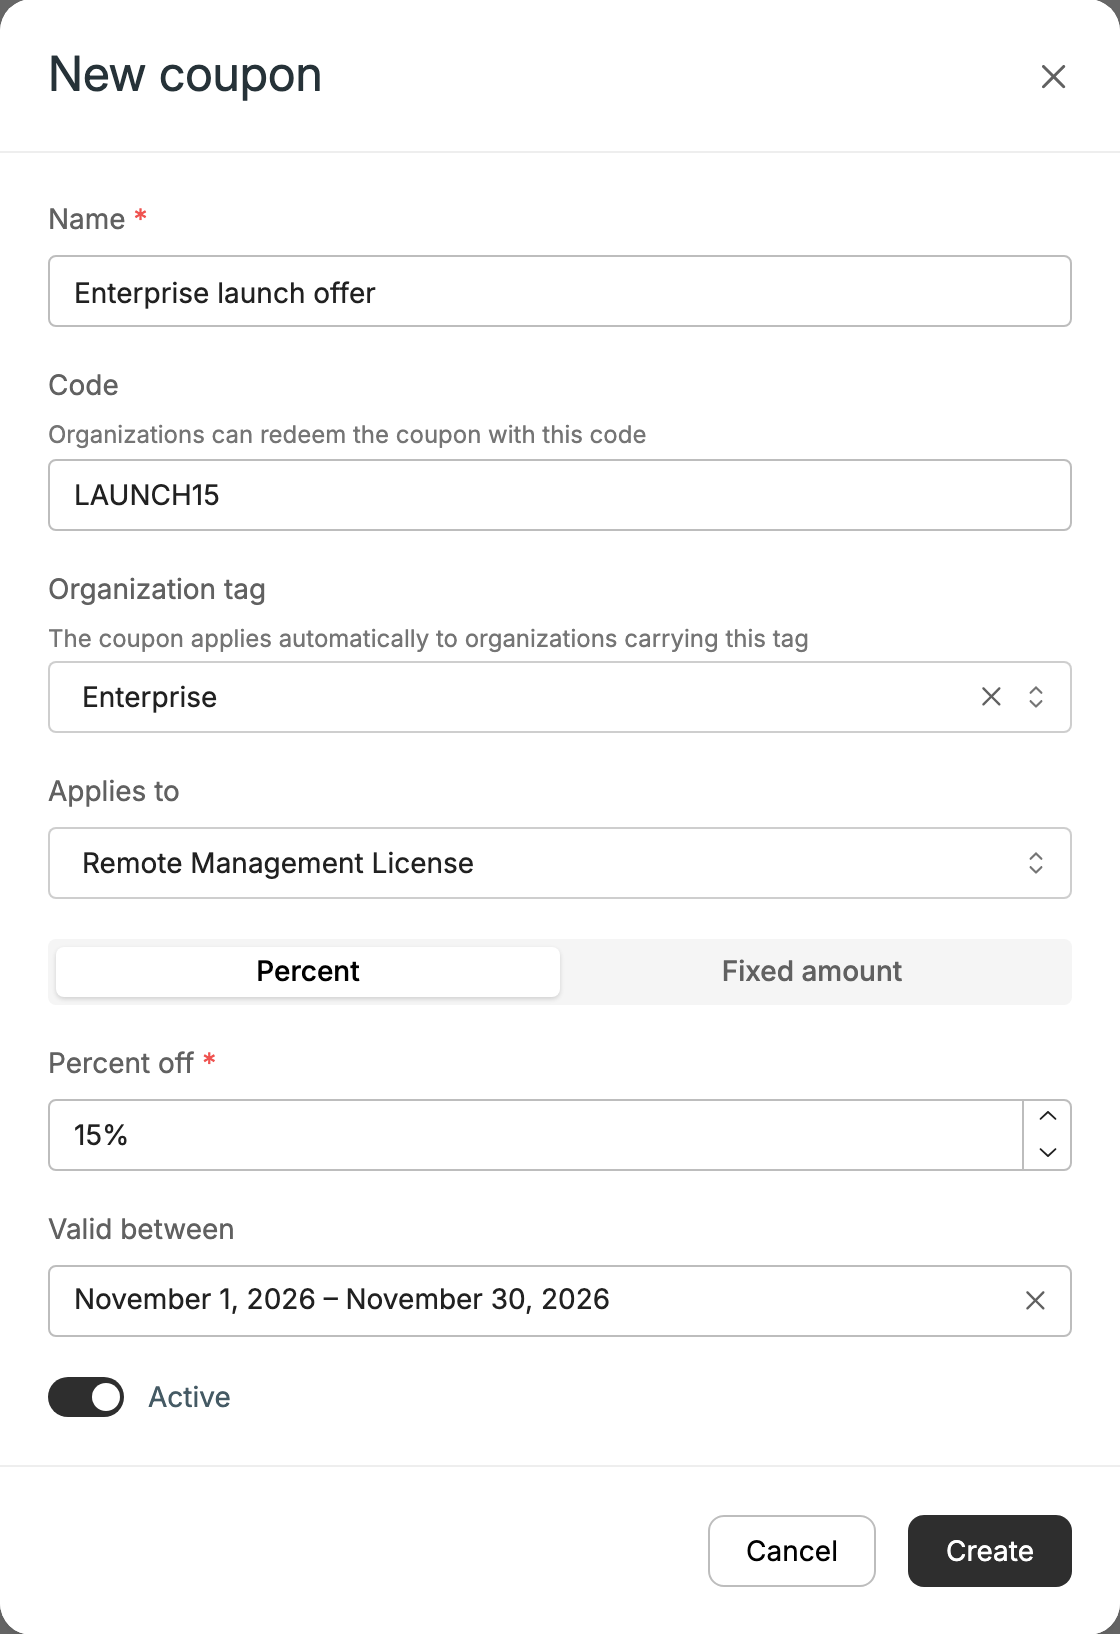
Go to Commerce Hub → Coupons and click New coupon:
- Name.
- Code: customers enter it to redeem the coupon.
- Organization tag: the coupon applies automatically to every organization that has this tag.
- Applies to: your Whole store, or one listing with standard pricing.
- Percent (1–100) or Fixed amount (in one of your store currencies).
- Valid between (leave it empty to keep the coupon always valid) and Active.
A coupon needs a code, an organization tag, or both.
Things to know:
- Coupons don't add up. A customer always gets the single best coupon that applies.
- A coupon can't make a recurring price free.
- A fixed-amount coupon only applies when the customer pays in that coupon's currency.
- Codes are unique across Xyte. If you get "Code is not available", pick another one.
- A coupon that was used in orders can't be deleted. Make it inactive instead.
Organization tags
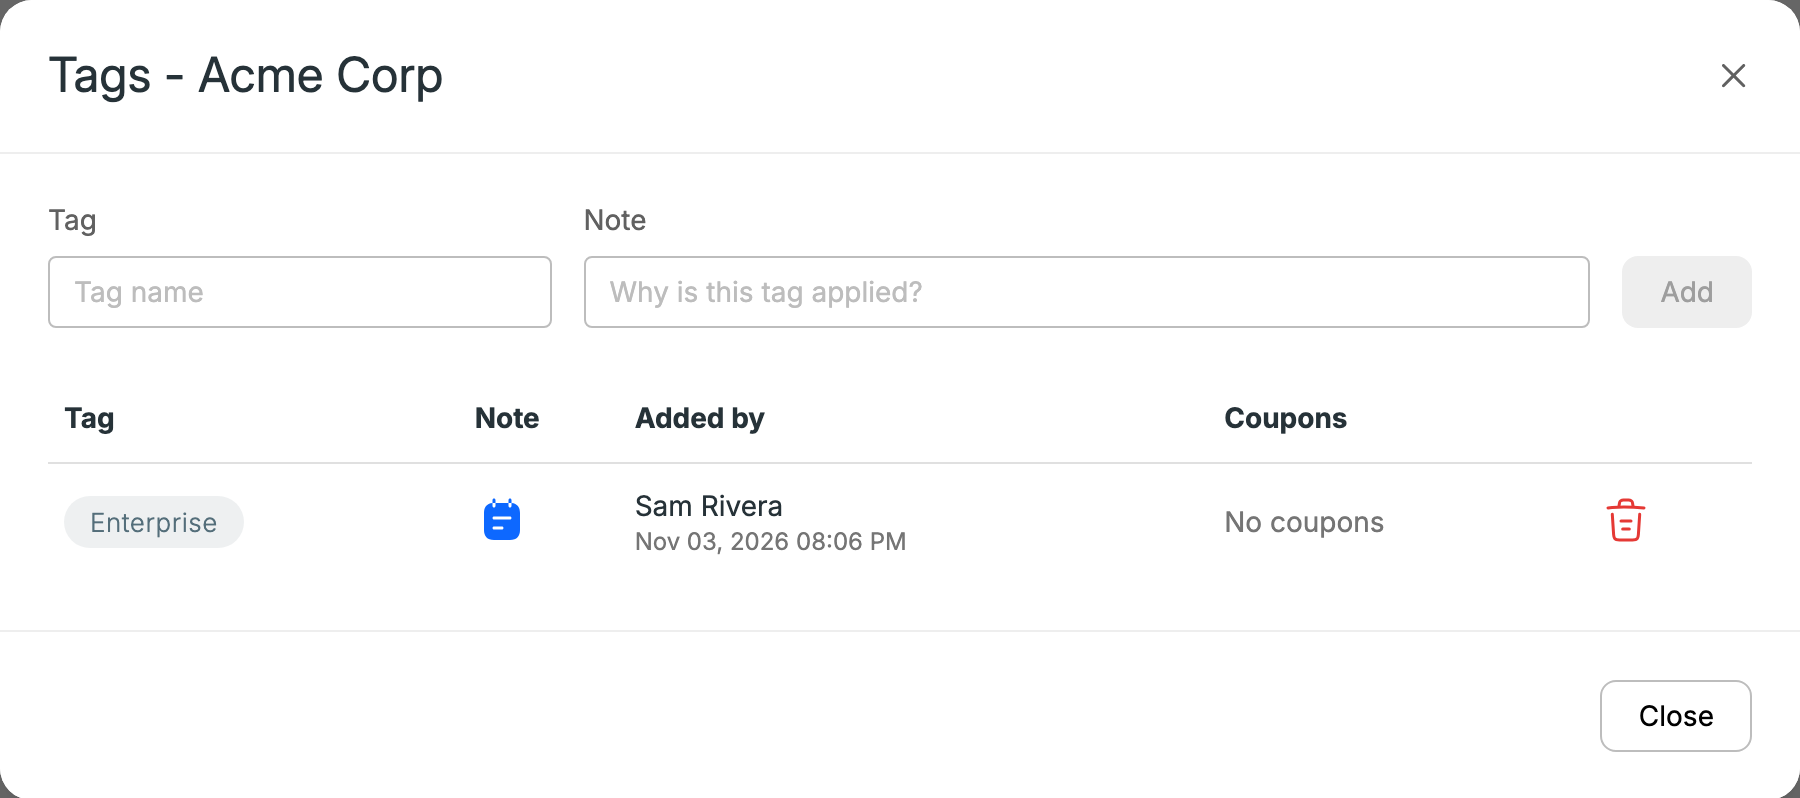
To give a customer a coupon automatically, tag the organization. Go to Customers, open the organization's details panel, and under Tags click Add tags (or Manage). Then add the tag. Any coupon with that Organization tag applies to the organization right away.
Customers buy a warranty from a device's Warranty tab, not from the store page. For a warranty to show there:
- Create a Warranty product linked to the device's model, with a Coverage period (days).
- Publish a listing for it.
- The device must be claimed by the organization and not already have a warranty, and the organization must see your store.
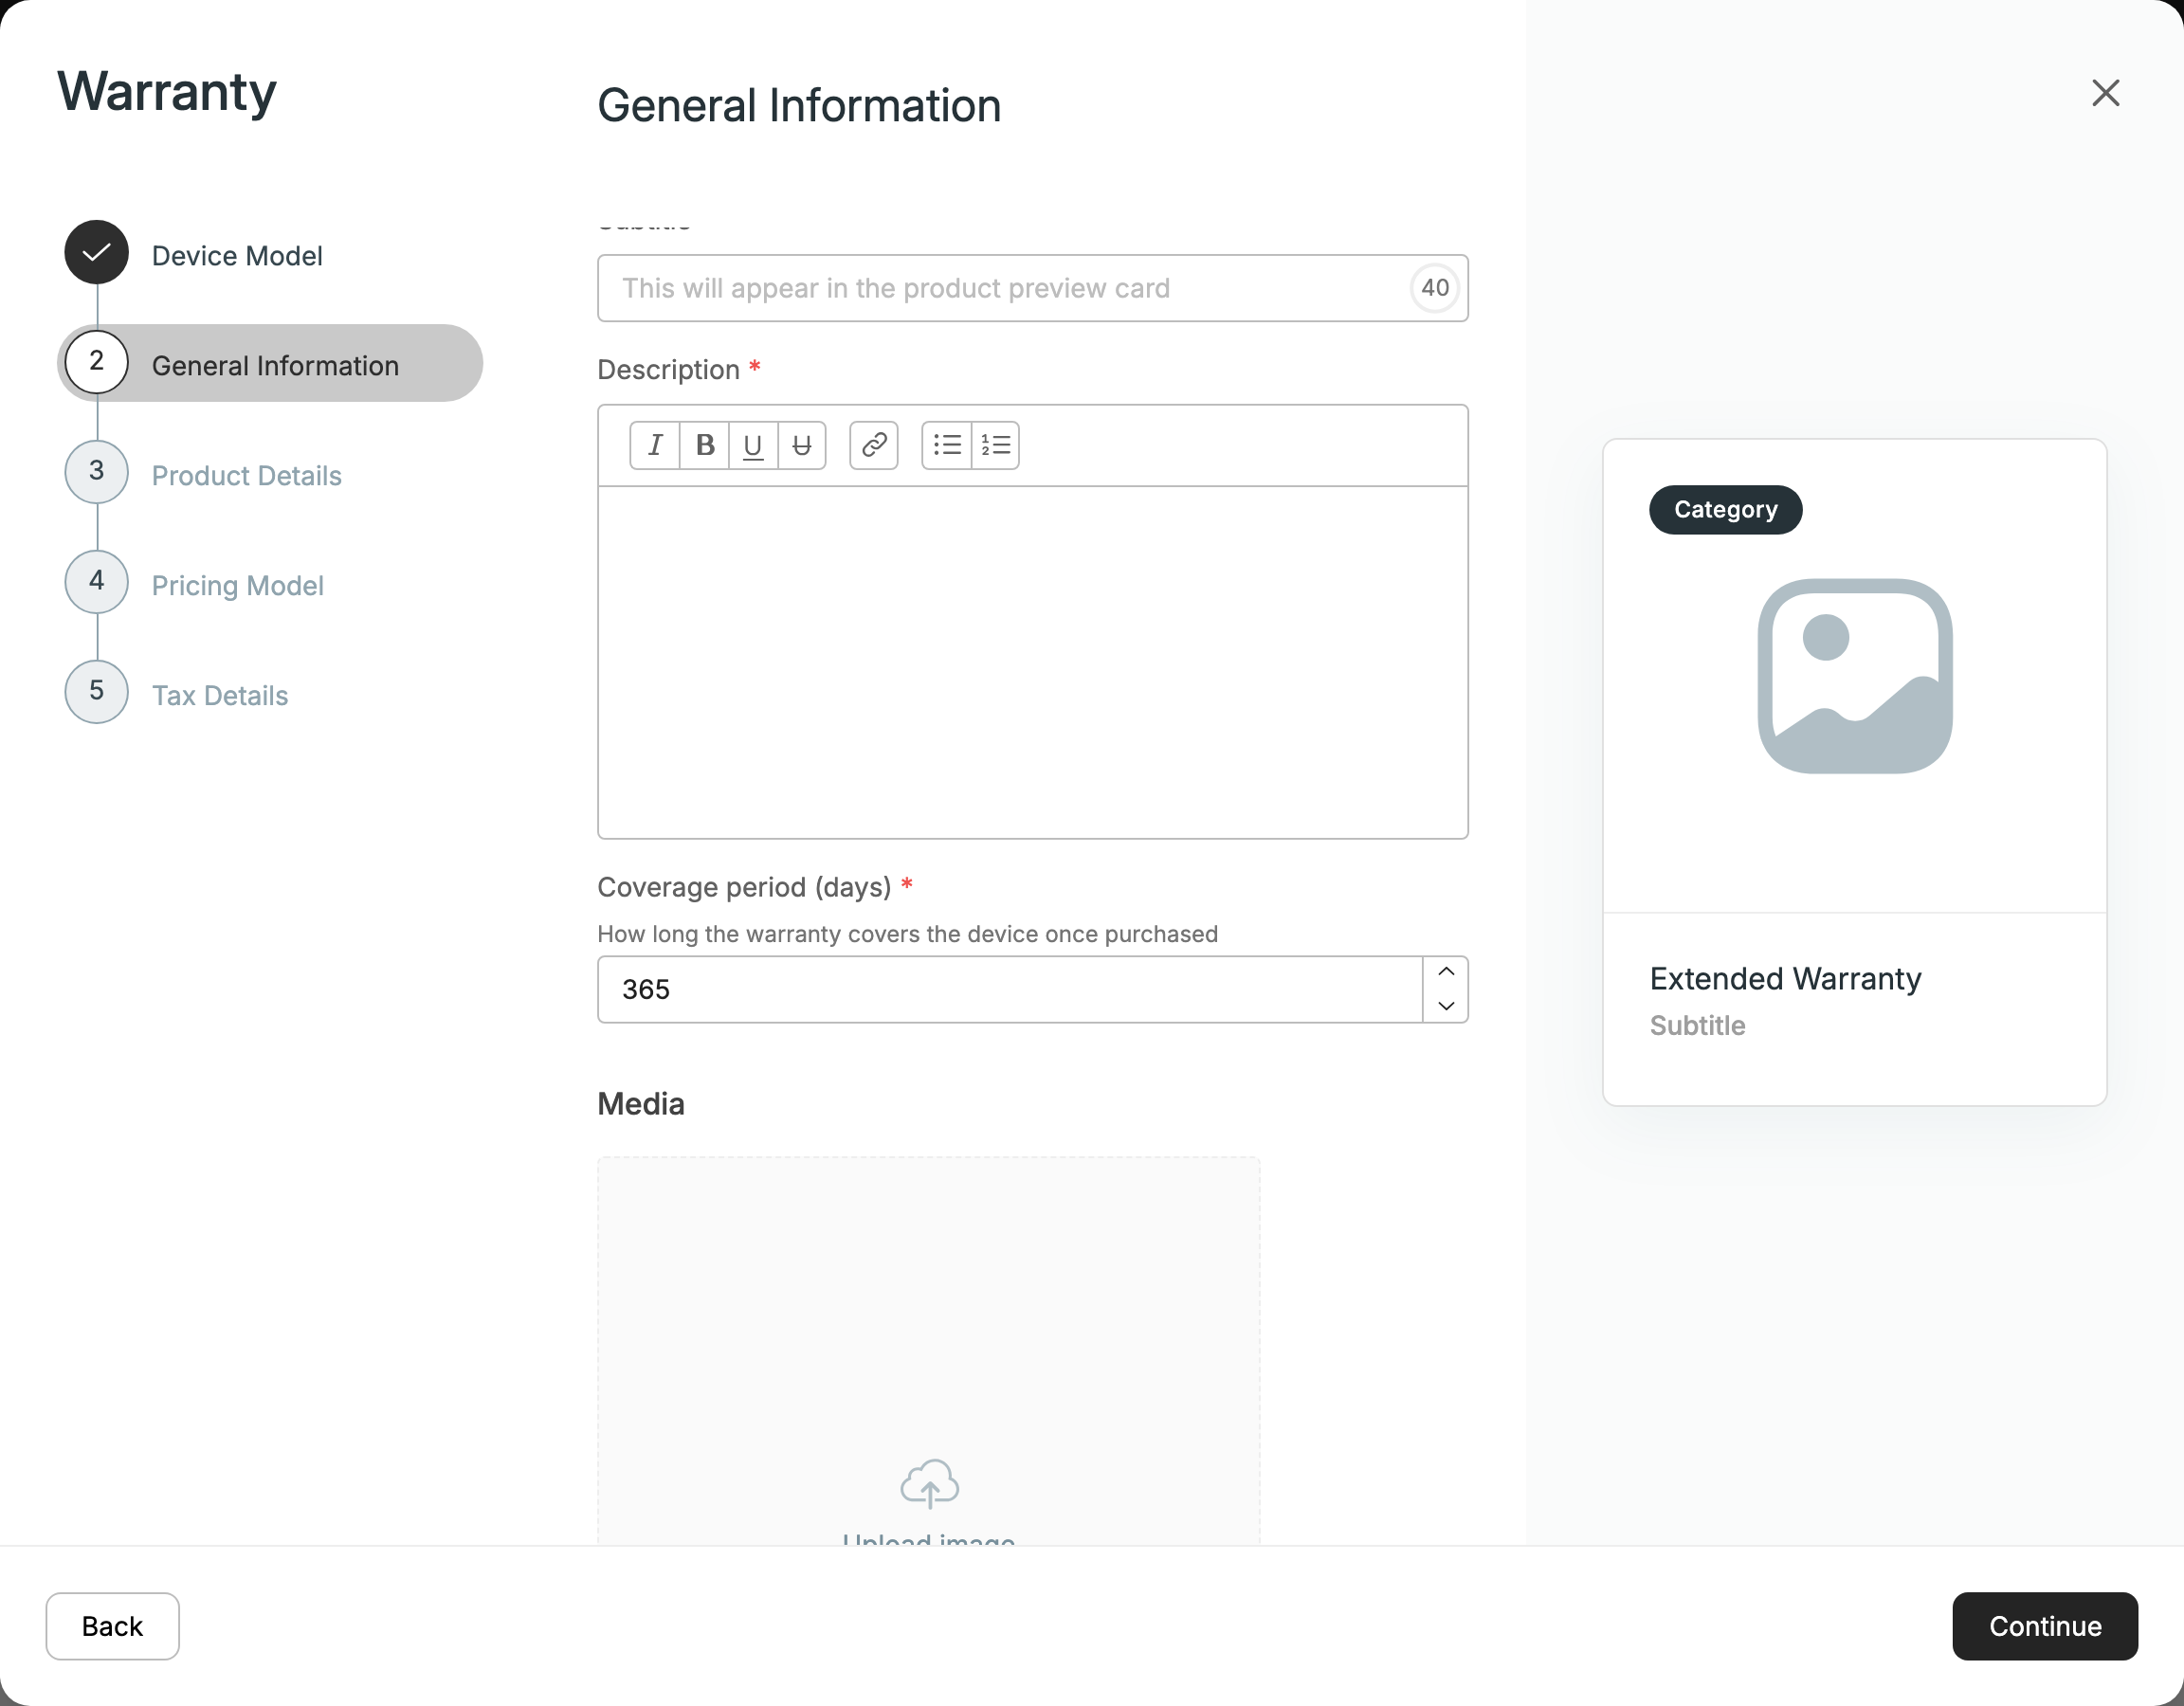
A device can have one warranty, ever, and the warranty is always bought with quantity 1, from a device of the warranty's device model. With a One Time price, coverage runs from the Warranty start date for the Coverage period (days). With a Monthly or Yearly price, it lasts until the subscription is cancelled.
Warranty orders always need your approval. Before you approve, set the Warranty start date for each warranty item. Once approved, the warranty is applied to the customer's device automatically.
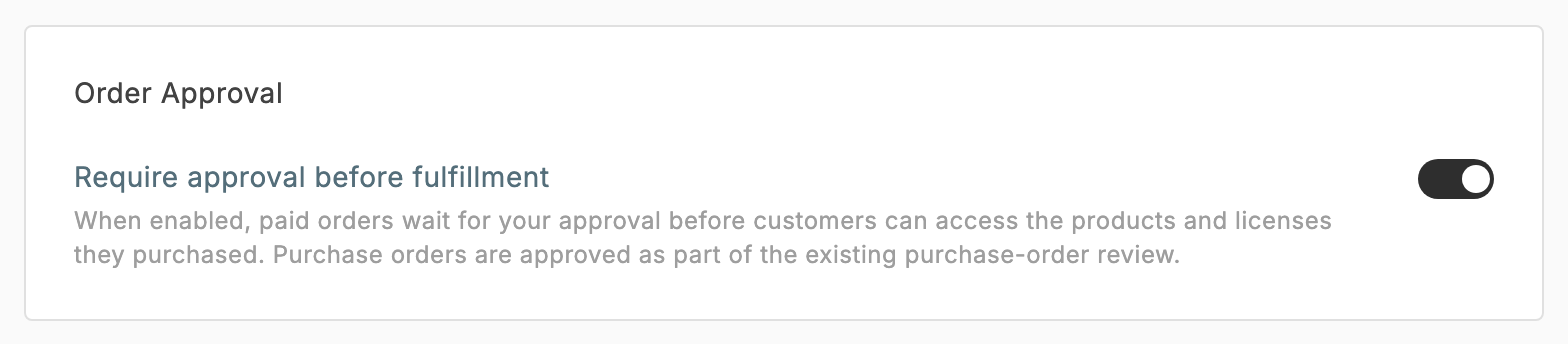
To review orders before they're fulfilled, turn on Require approval before fulfillment in Settings → Store → Order Approval. Warranty orders always need approval.
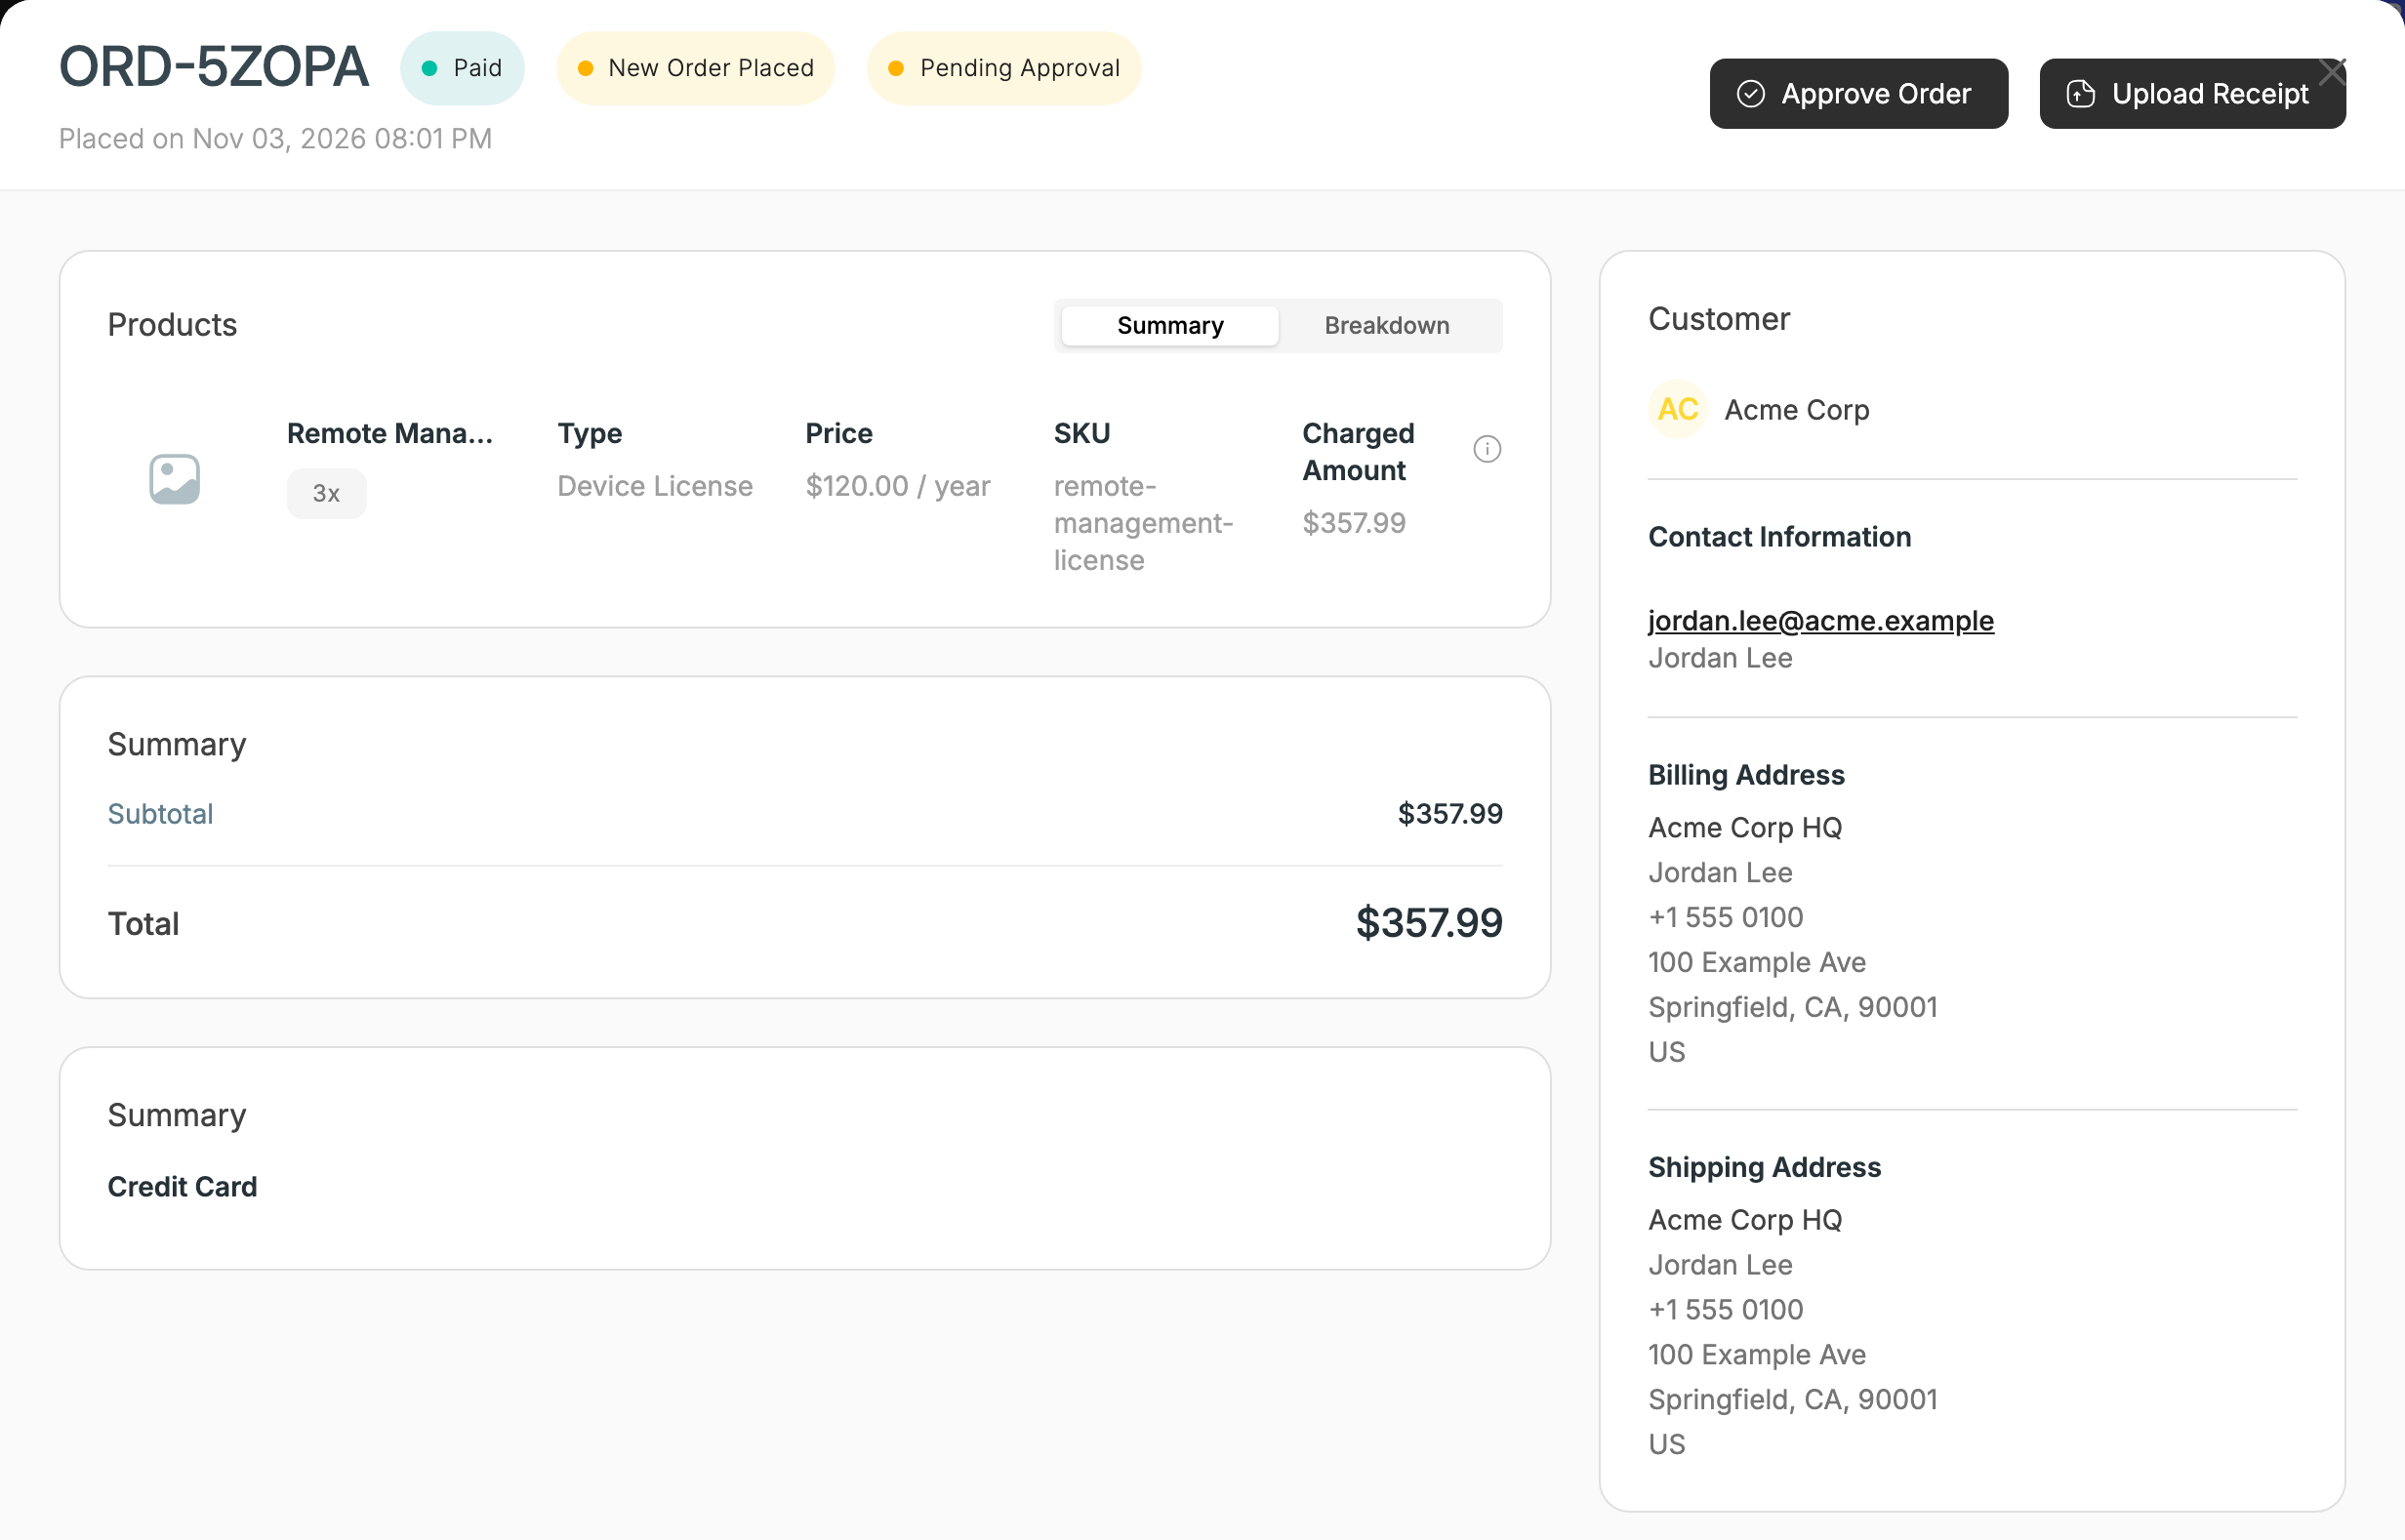
On an order's page:
- Approve Order: approve an order marked Pending approval.
- Review Purchase Order → Approve Purchase Order: for orders paid by purchase order, once the customer uploads it (Requires PO Approval).
- Create Shipment (with a Tracking Number and optional serial numbers), then Mark as Shipped and Mark as Delivered, for physical products.
To ask customers for more information at checkout, add questions under Settings → Store → Order Parameters. Store Management also lists Subscriptions, which you can cancel from the details panel, and Sold Products.
Updated about 1 hour ago